
You will want to test your games out on your personal Android device(s) prior to submitting them for review by app distributors. The instructions below detail how to prepare your device for use with the GameSalad Creator.
Setting up your device
- You will need to enable developer options on your device. To do so, you’ll need to locate the build number of your device. This is most likely under the “About phone” or “About tablet” section
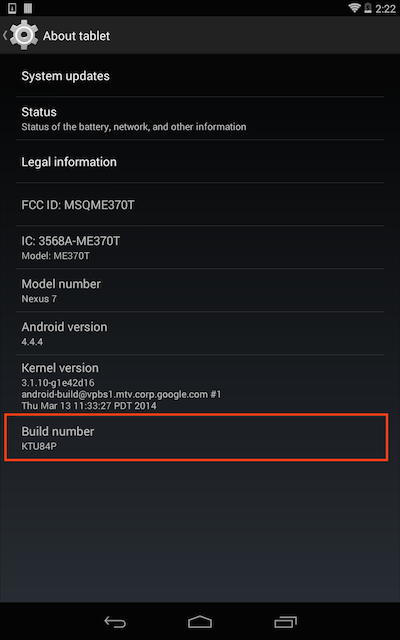 Once you’ve located the Build number location on your device. Press the little section where it says the text “Build number” 7 times to enable developer mode. If done correctly you should see this guy pop up
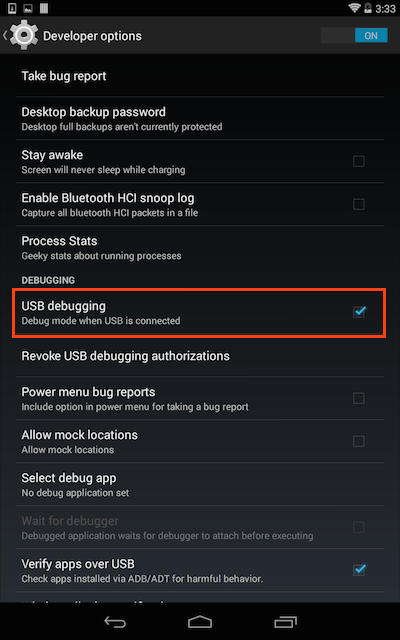
 Now head back into your devices settings menu, and then open up the developer options
 Turn on USB debugging
 Connect your Android device to your computer via USB. This should cause your device to ask you if you want allow USB debugging (check the box that says “Always allow from this computer” and the select “OK”)
Check to make sure everything is set up correctly
- Now we’re going to check and make sure that your Android device is recognized by your computer. Press your Windows key, type in “cmd”, and hit enter to launch the command prompt. (Note: If you did the optional steps earlier you can simply skip ahead to step 4)
 If you didn’t do the optional steps in the previous section, you’ll need to change what directory the command prompt is looking in before running adb commands, this isn’t as hard to do as you think though! First you’ll want to locate the platform-tools folder inside the Android SDK folder you downloaded earlier in these tutorials. It is likely in the location C:\Program Files (x86)\Android\android-sdk
 Now, back in the command prompt window, type in “cd”, followed by a space, and then drag your platform-tools folder into the command prompt window (this will change the directory that the command prompt is looking at to the location of adb.exe and allow you to run the adb commands). It should look something like this:
 Go ahead and hit enter. Next, type in “adb devices” and hit enter to check that everything has been set up correctly. If so, your command prompt should give you a list of attached devices:

Ad-hoc testing
When you are ready to test your game, you can install it directly onto your device by using another adb command.
You need to generate and sign an apk file of your project for testing. The instructions on how to do this can be found in the Android Publishing tutorial. After you’ve generated / signed the apk of your project:
- From the command prompt, type “adb devices” to make sure your device is connected and detected, same as you did above.
- Next, type “adb install”, followed by a space, and then drag the signed apk file into the command prompt window.
- Hit enter and you will be prompted with a message indicating success or failure of the install.
If you were successful, you should now see your game’s icon on the device and you can launch it for testing!
When you are finished testing, you can uninstall the ad-hoc build in the same way that you normally uninstall apps on your device.